To view a larger image, click the image you want to view.
In the fourth blog of the series, we’ll be looking at how to set up and begin to play a game (after all, that is what it is all about!)
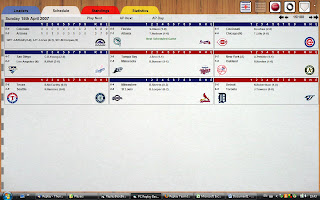
A game is started from the schedule screen, by simply clicking the Play Next button. Games can be played out of sequence if desired.

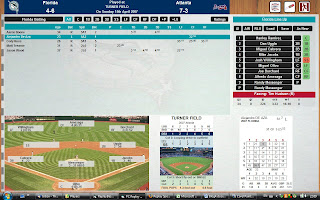
The line-up selection screen takes you through selecting the players to participate. Pitchers scheduled to start will automatically appear as starting pitchers, but these can be changed.

There are several displays available to assist with your selections
• You can view real or replay stats
• You can see which pitchers would start on B grades due to prior game usage
• You can view the last 5 days pitcher usage and the next 4 days scheduled starters
• You can view any player’s card
Player selection is straightforward and flexible and both player and fielding position can be selected with a double-click.
When it comes to selecting lineups there are five possibilities:
• Computer generated lineup
• As-played lineup
• Random actual lineup from a random game in the season (although with this option, unavailable players will not appear)
• Loading a previously saved lineup
• Building a new lineup
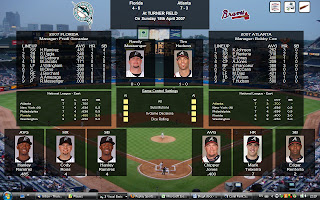
Once the lineups have been selected, the program moves to the pre-game screen.

This screen puts the game in a seasonal context as well as showing the top performers from each team.
From here you can set the AI options for each team (although these can also be changed during a game).
You can then either start the game, or print out the scorecard (view pdf file here) in order to play the game manually and enter the stats at a later date.

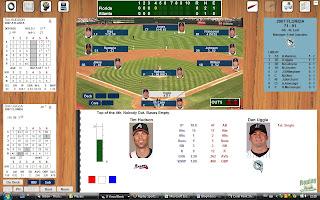
Next time, we’ll look more closely at the actual game-screen and the mechanics of playing.